Copyright © Rogue Amoeba Software, Inc. All rights reserved.
On older versions of MacOS, Audio Hijack uses ACE, a powerful backend audio handling component. ACE enables Audio Hijack to capture capture on your Mac.
Installing ACE requires some quick setup, as mandated by Apple. The built-in ACE installer found in our products walks you through this.
On this page, we detail the full, step-by-step sequence needed to install ACE on MacOS 13 (Ventura). This is a one-time process, and you'll be up and running in just a few minutes.

When you first launch the application, it will direct you to install ACE. Click the Install button to proceed.

Enter your Administrator password (generally, the password used to log in to your Mac), then click OK.
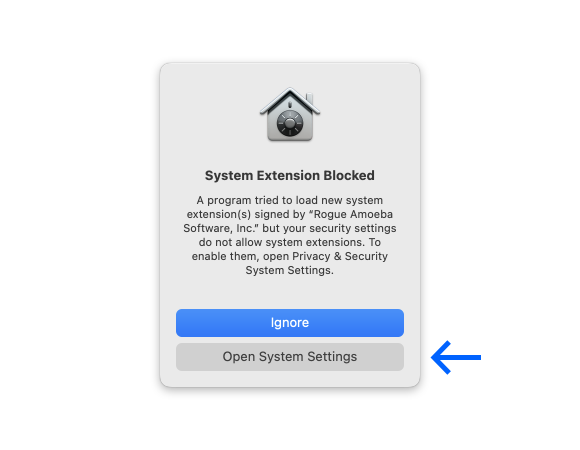
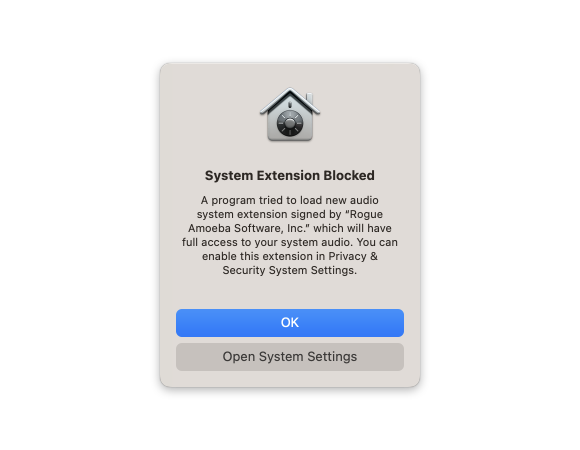
You'll now see a message from the system, stating that your system currently does not allow system extensions.
Click the Open System Settings button to proceed.
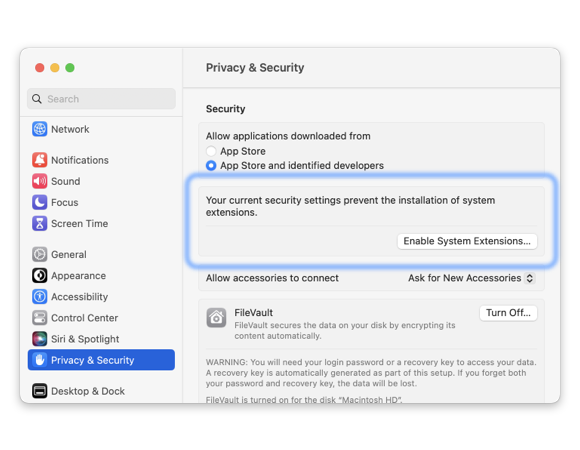
If you previously clicked Open System Settings, you’ll already be in the right place. If not, open System Settings from the Apple () menu in the menu bar. Click Privacy & Security in the sidebar, then scroll past the Privacy section to the Security area and click Enable System Extensions.

Enter your Administrator password when prompted.
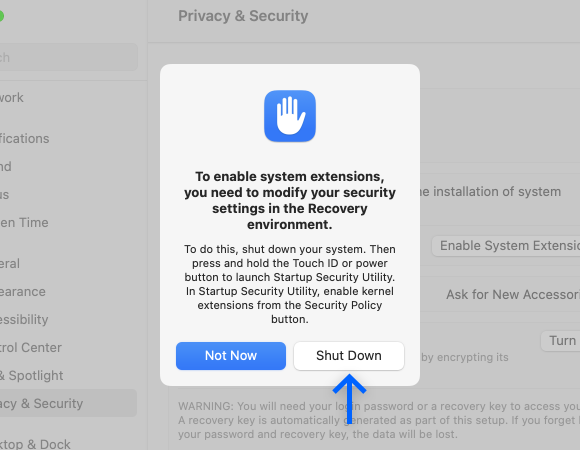
Click the Shut Down button to proceed.

To boot to the Mac's “Recovery” environment, press and hold the Power button on your Mac.
When the screen says “Loading startup options…”, you can let go.
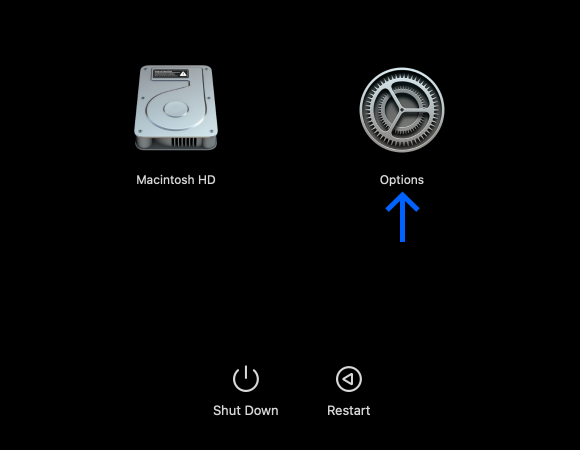
Click the Options item, and then click Continue.
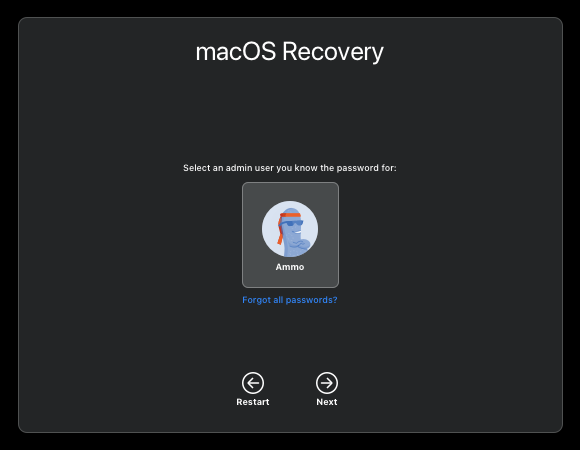
Select a user with administrator privileges, then click Next.
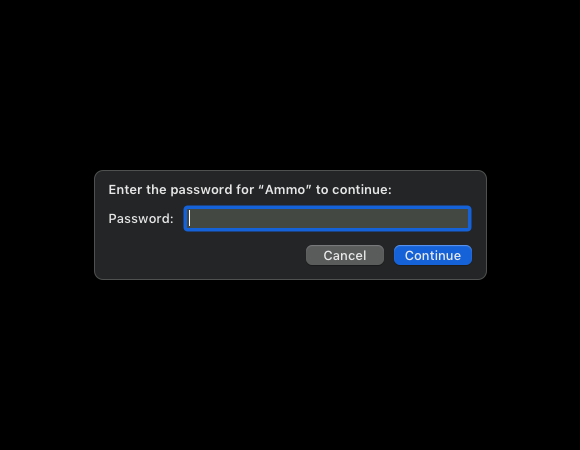
You'll be prompted for your login password. Enter it, then click Continue.
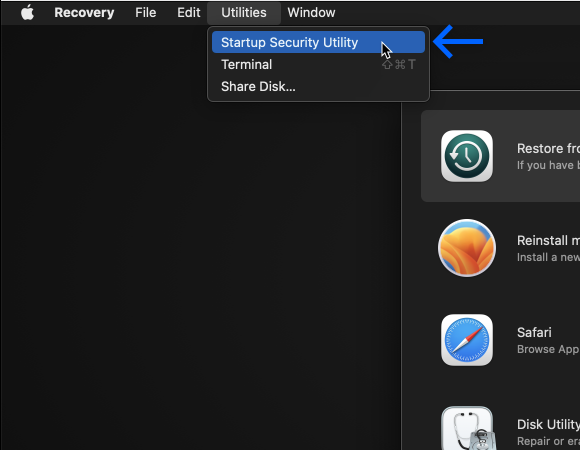
In the menu bar, open the Utilities menu and then choose Startup Security Utility.
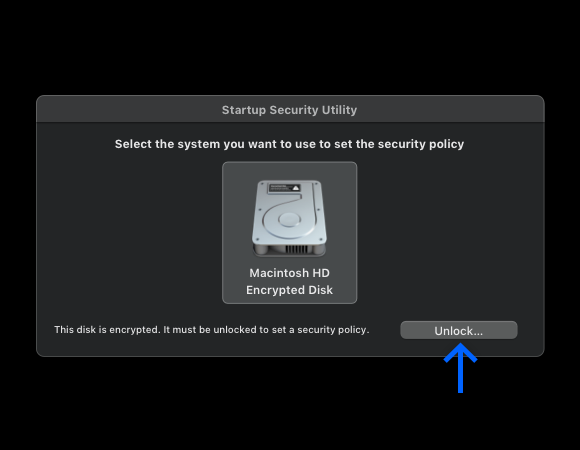
Click the Unlock button.
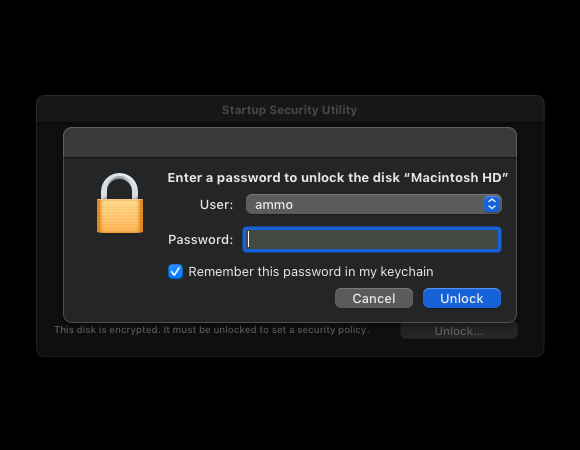
You'll be prompted for your login password. Enter it, then click Unlock.
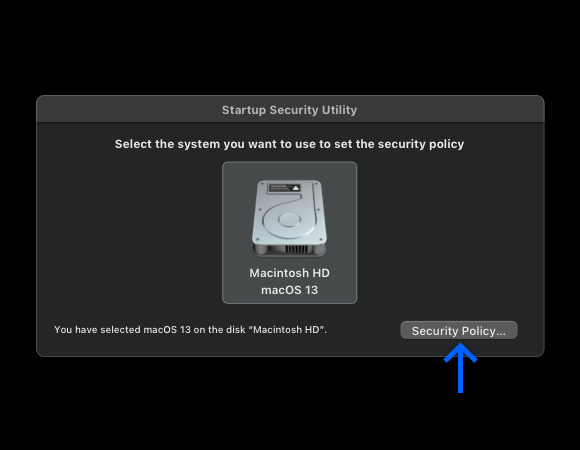
Click your main system drive, then click the Security Policy… button. You can now adjust the security policy so ACE can run.
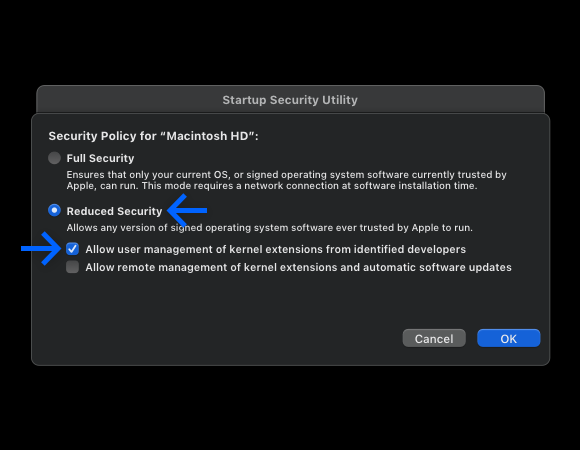
Switch from the default Full Security option to Reduced Security, and enable the first checkbox labeled “Allow user management of kernel extensions from identified developers”.
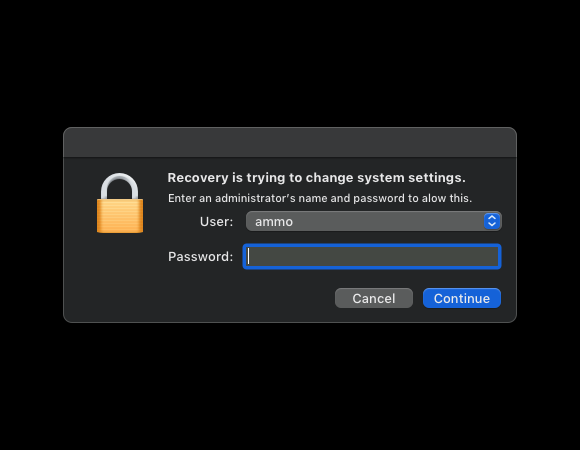
Enter your password, then click the OK button. The new security policy will then be applied. When it's finished, the Security Policy window will close.
Click the Apple () menu in the menu bar, to select Restart.
After you restart your Mac, you’ll be prompted to open System Settings to enable the ACE component and complete the installation process.
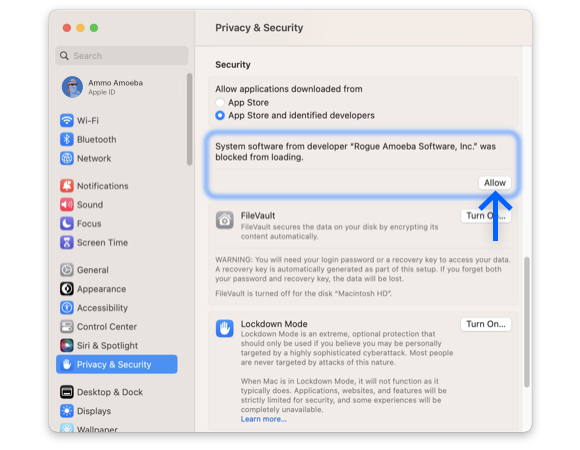
If you’re not automatically directed there, open System Settings again. Head to the Privacy & Security section in the sidebar. Scroll down to the Security area, and click the option to Allow our software.
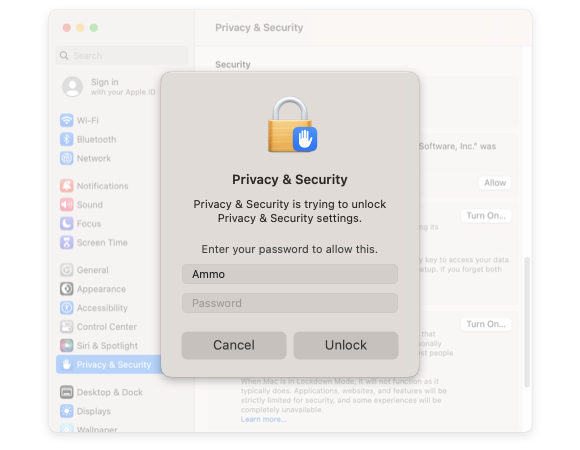
You’ll be prompted for your password twice: once to unlock the setting, and again to authenticate your user account to use the extension.
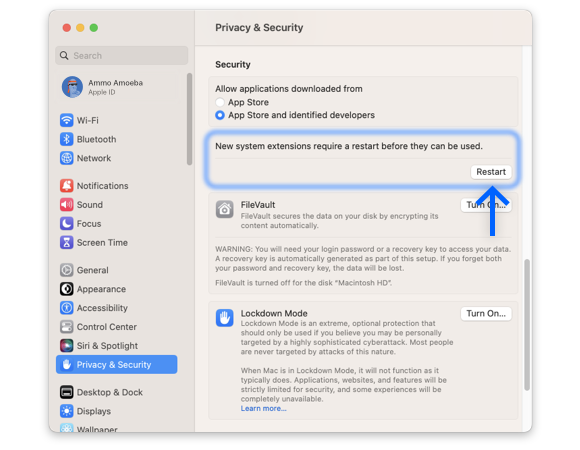
Use the Restart button in System Settings to restart your Mac.
After restarting again, you’ll be all set to use the application!

When you first launch the application, it will direct you to install ACE. Click the Install button to proceed.
Enter your Administrator password (generally, the password used to log in to your Mac), then click OK.
You'll now see a message from the system, stating that your system currently does not allow system extensions.
Click the Open System Settings button to proceed.
If not automatically directed to the System Settings app, open System Settings from the Apple () menu in the menu bar. Click Privacy & Security in the sidebar, scroll down past the Privacy section to the Security area, and click Enable System Extensions.
Enter your Administrator password to unlock the setting.
You're at the final step. Click Restart. When you log back in to your Mac, the application will be ready to go. Good work!
If you need personal assistance or want to provide feedback, our friendly support team is available via email. Click below to get in touch:
Contact UsWe're amazingly responsive! We strive to reply in under 24 hours.