Copyright © Rogue Amoeba Software, Inc. All rights reserved.
Loopback comes with helpful keyboard shortcuts pre-configured in the app’s menus. If you wish to modify these shortcuts or add additional shortcuts, you can do so with a little-known feature of MacOS
Apple maintains an article on keyboard shortcut creation on their Support site. Below, we’ve recapped it and included additional information.
To get started with custom keyboard shortcuts, just follow these steps:
In the Menu Title field, enter the exact name, including capitalization, of the menu command you want to control with a keyboard shortcut.
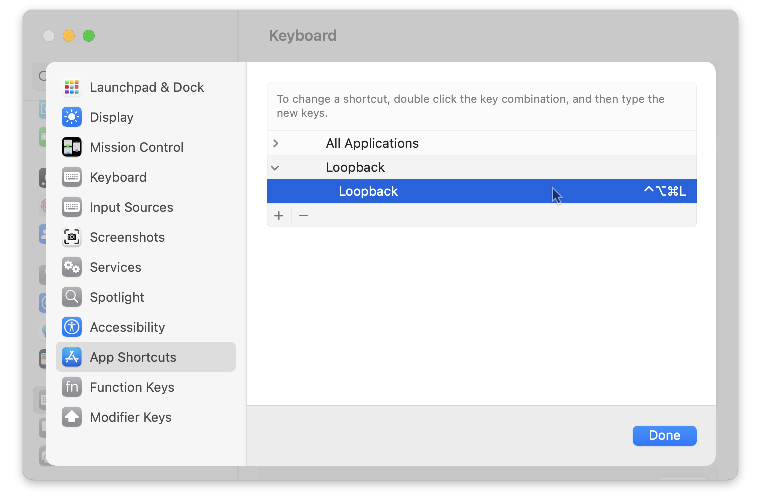
As an example, we've set an alternate keyboard shortcut to display Loopback’s main window.

That’s it! If you’ve configured things correctly, you’ll now be able to use your new custom keyboard shortcut.
Once you get started making your own shortcuts, you may wish to check out Houdah Software’s CustomShortcuts application. It’s a great, and free, way to handle custom shortcuts on your Mac.