Copyright © Rogue Amoeba Software, Inc. All rights reserved.
Loopback enables you to combine the audio from multiple sources, including microphones and applications, then provide that combined audio to voice chat applications to be heard by all participants.
For example, you might wish to combine music from a media player (like Spotify or Apple Music) with your own voice, then send that audio to others via a voice chat app (like Zoom, FaceTime, or Skype). With a virtual audio device made by Loopback, folks on the other end of your call will hear both your voice and any other audio you want to include.

This article provides a quick overview on how to configure and use Loopback to send the exact audio you want through voice chat.
To begin, you'll create a new Loopback virtual audio device, which will combine audio from your microphone and your desired media playing app(s). The following example combines a USB microphone with our own Farrago soundboard app, for easy playing of audio files.
Click the New Virtual Device button to create a new device, and give it a descriptive name. Here, the device's name has been set to “Mic & Farrago”.
You won't use the Pass-Thru source which is included by default, so remove it by clicking to highlight it, then pressing the Delete button.
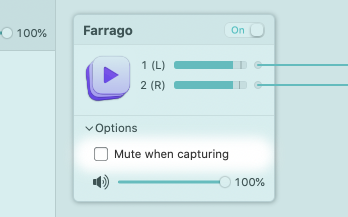
Add the desired audio sources by clicking the (+) button next to the Sources header. As seen below, the “Farrago” app source has been added, as well as a USB device called “USB Microphone”.

You'll likely want to uncheck the Mute when capturing setting within the Options area of the Application source. This will enable you to hear the audio you're playing in your app(s) locally.

At this point, the virtual device is now ready for use throughout your system. It will remain available until you toggle it off or delete it, even when Loopback isn't actively running.

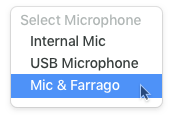
Now that you've created your virtual device, you need to select it as the input device within your voice chat app. Often, this is configured in the application's Preferences window. At the end of this article, we've provided details on configuring several popular voice chat apps.
Your calls will now contain all the audio you specified. Audio from both your microphone, as well as any other apps you've added, will automatically be merged together by Loopback into a virtual audio device. Your voice chat app will see this virtual device as a normal microphone, and all the desired audio will be heard by those on the other end of your call.
Below, you'll find instructions for configuring the audio input device in several different voice chat apps. Even if your application is not listed below, you'll likely find it has similar settings.
Jump to instructions for:
↓ FaceTime
↓ Google Hangouts
↓ Skype
↓ Zoom
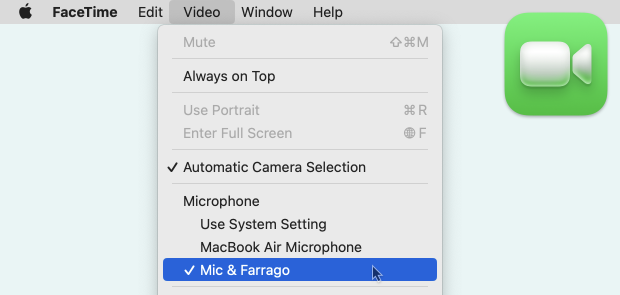
Within FaceTime, click the Video menu in the menu bar.
In the Microphone section, select your virtual device.

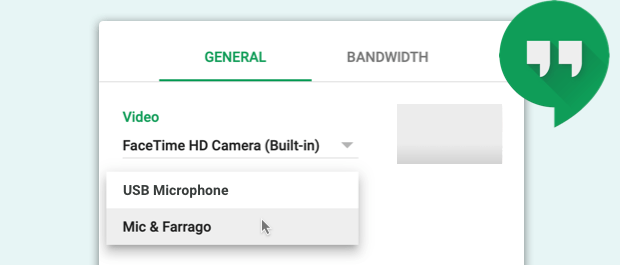
To adjust settings, you must first start your call on the Google Hangouts website. Once you have, click the Gear button.
In the Microphone section, select your virtual device, then click Save.

Within Skype, click the Skype menu, then select Preferences.
Click the Audio & Video section on the left side.
In the Microphone section, select your virtual device.

Note: Skype automatically downmixes audio to mono, which causes a noticeable reduction in audio quality. For higher quality audio, you may wish to use a different voice chat application.
Within Zoom, click the zoom.us menu, then select Preferences.
Click the Audio section on the left side.
In the Microphone section, select your virtual device.

Notes: Like Skype, Zoom limits audio to mono by default, and also manipulates audio to avoid any feedback or echo. You may wish to use their steps to preserve the original sound and also enable stereo audio where desired.
It's likely you'll want to disable the Automatically adjust microphone volume checkbox in Zoom's Audio Preferences. By turning that option off, you'll prevent Zoom from changing the volume level of a Loopback device set as its microphone without your input.